As I’ve mentioned before, my youngest kid has a ton of allergy issues, including peanuts and milk. So, after searching for a bit, I found a Nutella recipe that doesn’t use milk at all, which means it will naturally have a longer shelf life (two weeks) and I won’t have to torment the rest of my family with another goat milk recipe.
As you will notice, I pretty much messed up the finer details of the recipe, and I’m here to tell you–this is a pretty forgiving recipe.
Ingredients:
- 1 cup hazelnuts
- 12 ounces milk chocolate, chopped (I used 10 oz of semi-sweet, non-allergenic chocolate)
- 2 tablespoons mild vegetable oil, such as canola (I was out of canola, so I used olive oil)
- 3 tablespoons confectioners’ sugar (I had to substitute with granulated sugar)
- 1 tablespoon unsweetened cocoa powder
- 1/2 teaspoon vanilla extract
- 3/4 teaspoon salt, more or less depending upon your preference (I recommend starting with 1/2 tsp)
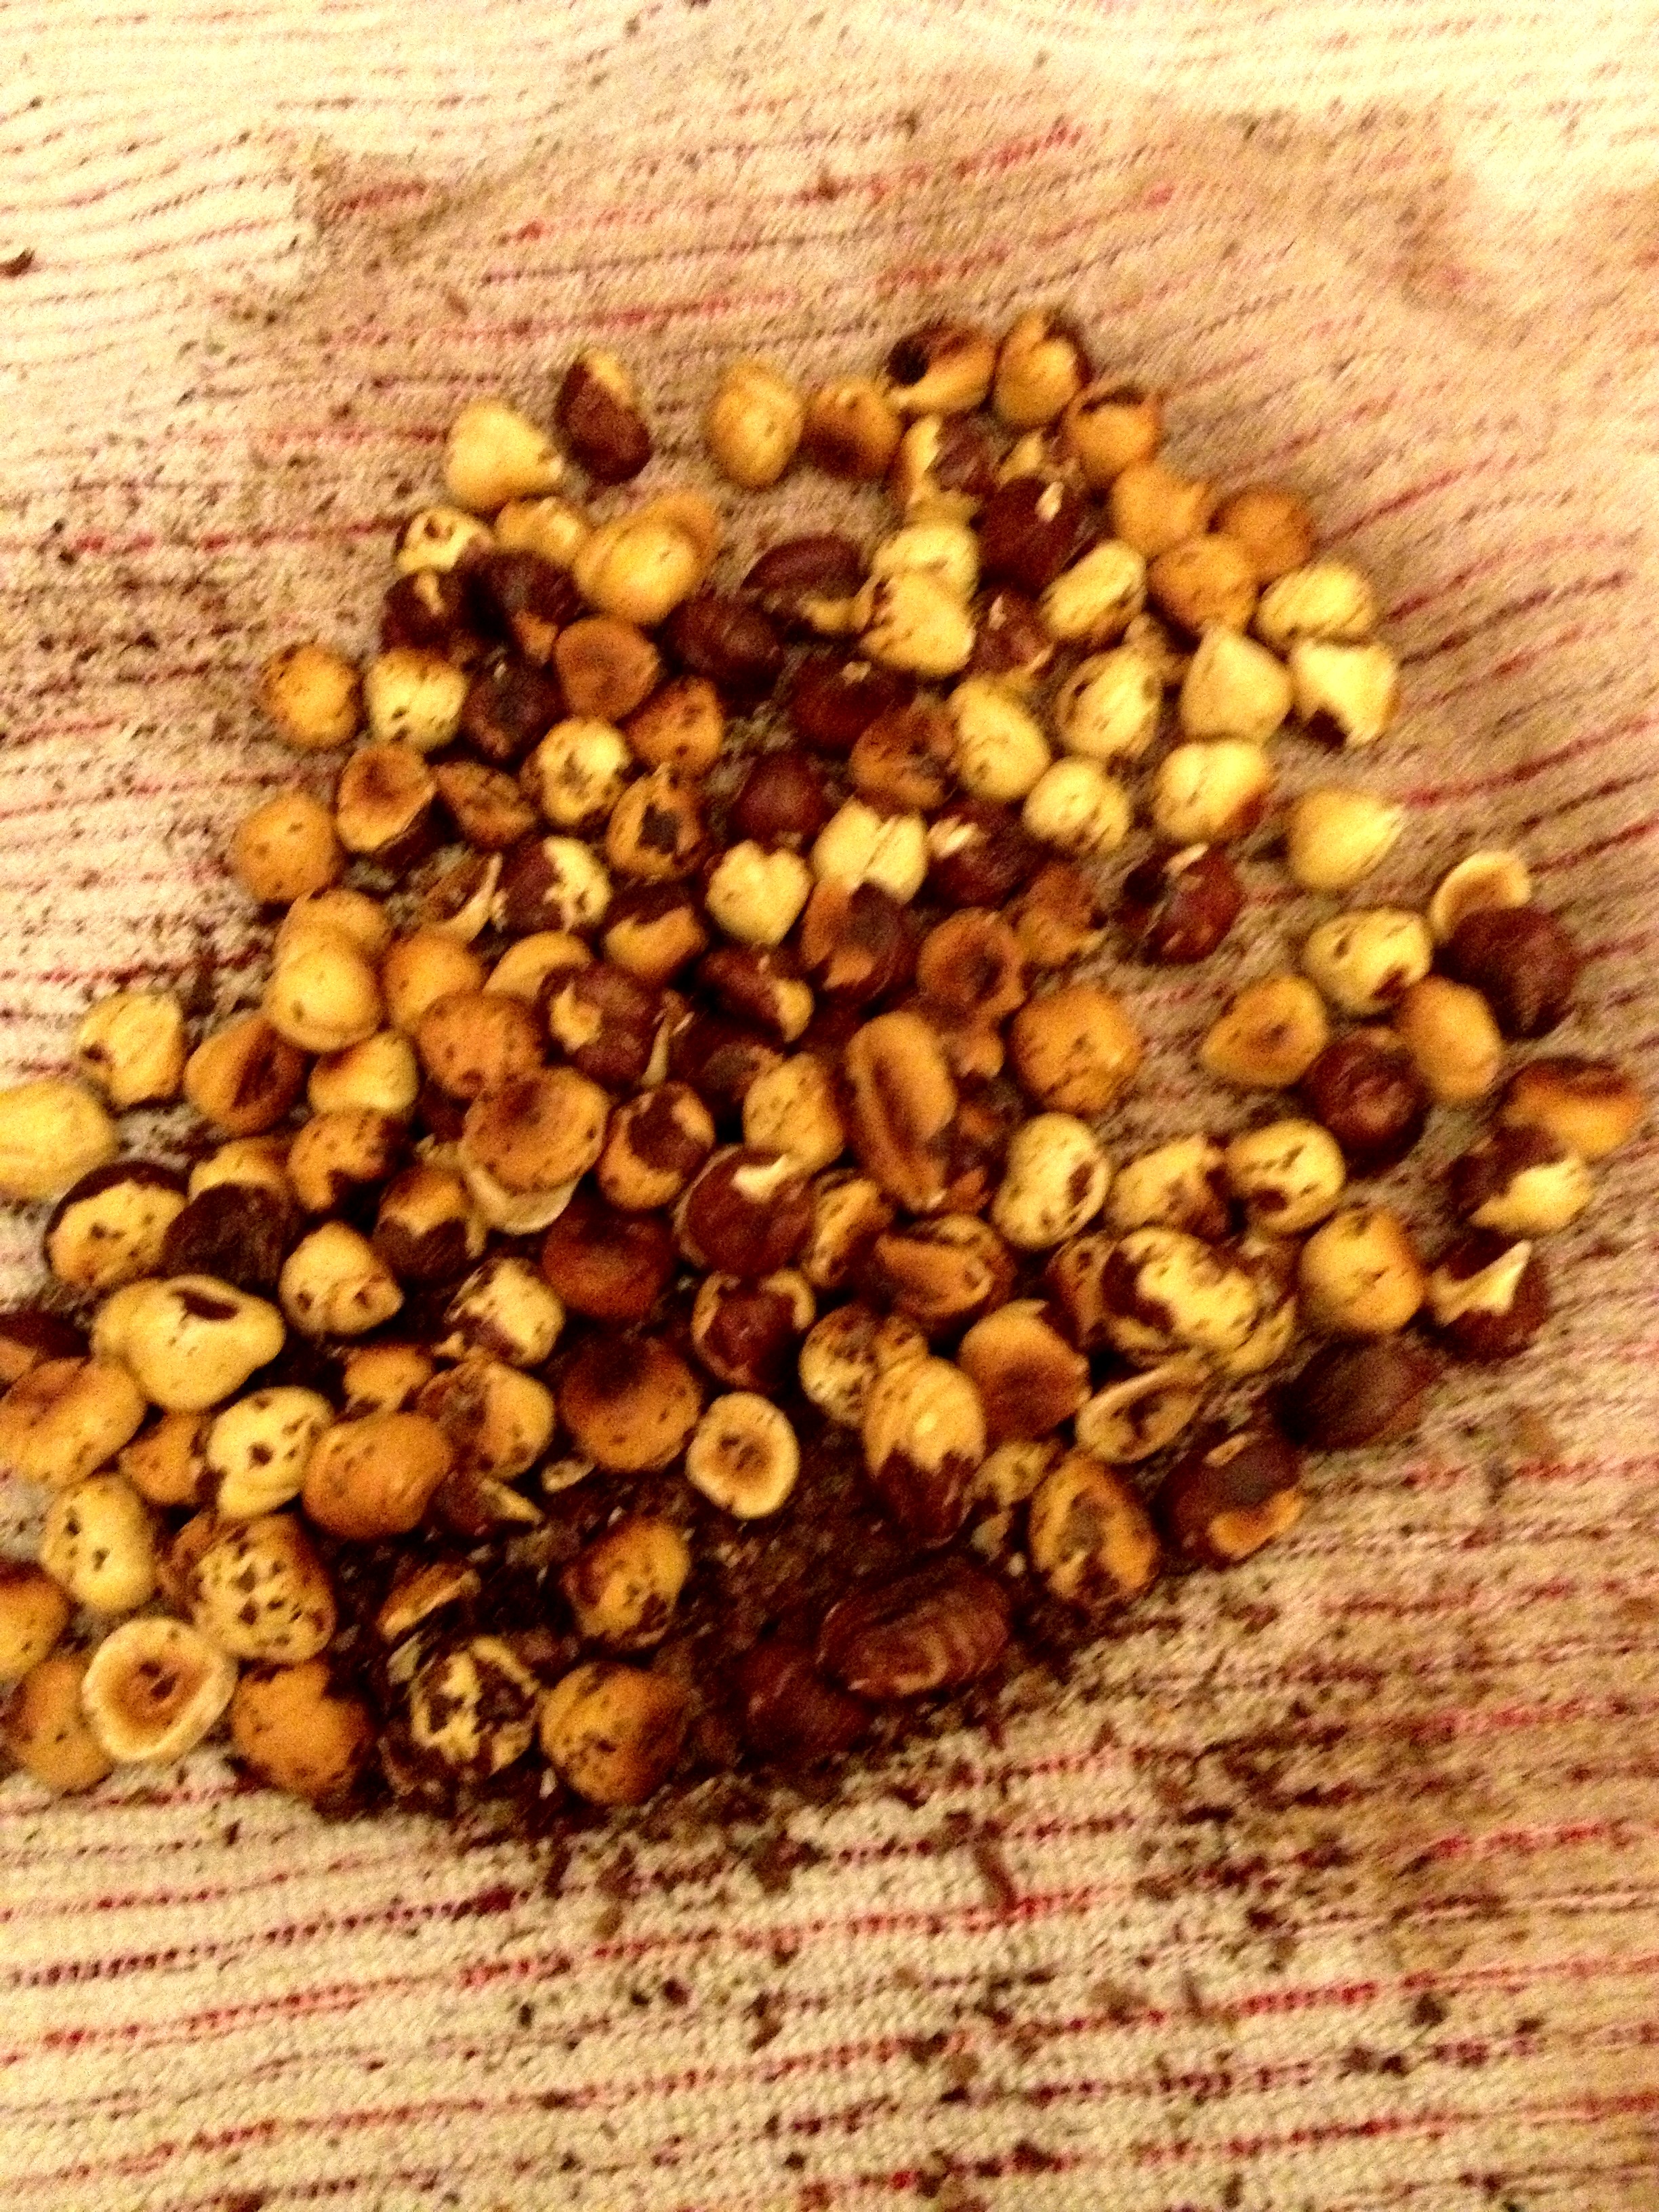
Preheat oven to 350*F. On a baking sheet, spread your hazelnuts out into a single layer. Bake them for about 12 minutes, or until they’ve browned a bit and the skins are blistered a bit, like this:

Dump them out onto a towel and let them cool a bit. Then, gather them up in that towel and rub them vigorously. This will help to get some of the skin off. Don’t expect for all of the skin to come off; it’s really not a big deal.
Melt your chocolate. I placed a saucepan over a boiling pot of water, but you could also just use a microwave. I got this started so my chocolate was melting while I did everything else.

Put your hazelnuts into your food processor. I have a Vitamix blender, and it’ll do the job. Blend or process the hazelnuts until they form a paste.

Add everything else to that… your oil, sugar, cocoa powder, vanilla, salt, and, of course, chocolate. (The original recipe called for allowing the chocolate to cool; I was impatient and fearful that the chocolate would harden and be difficult to work with, so I took it straight from the saucepan to my blender.)
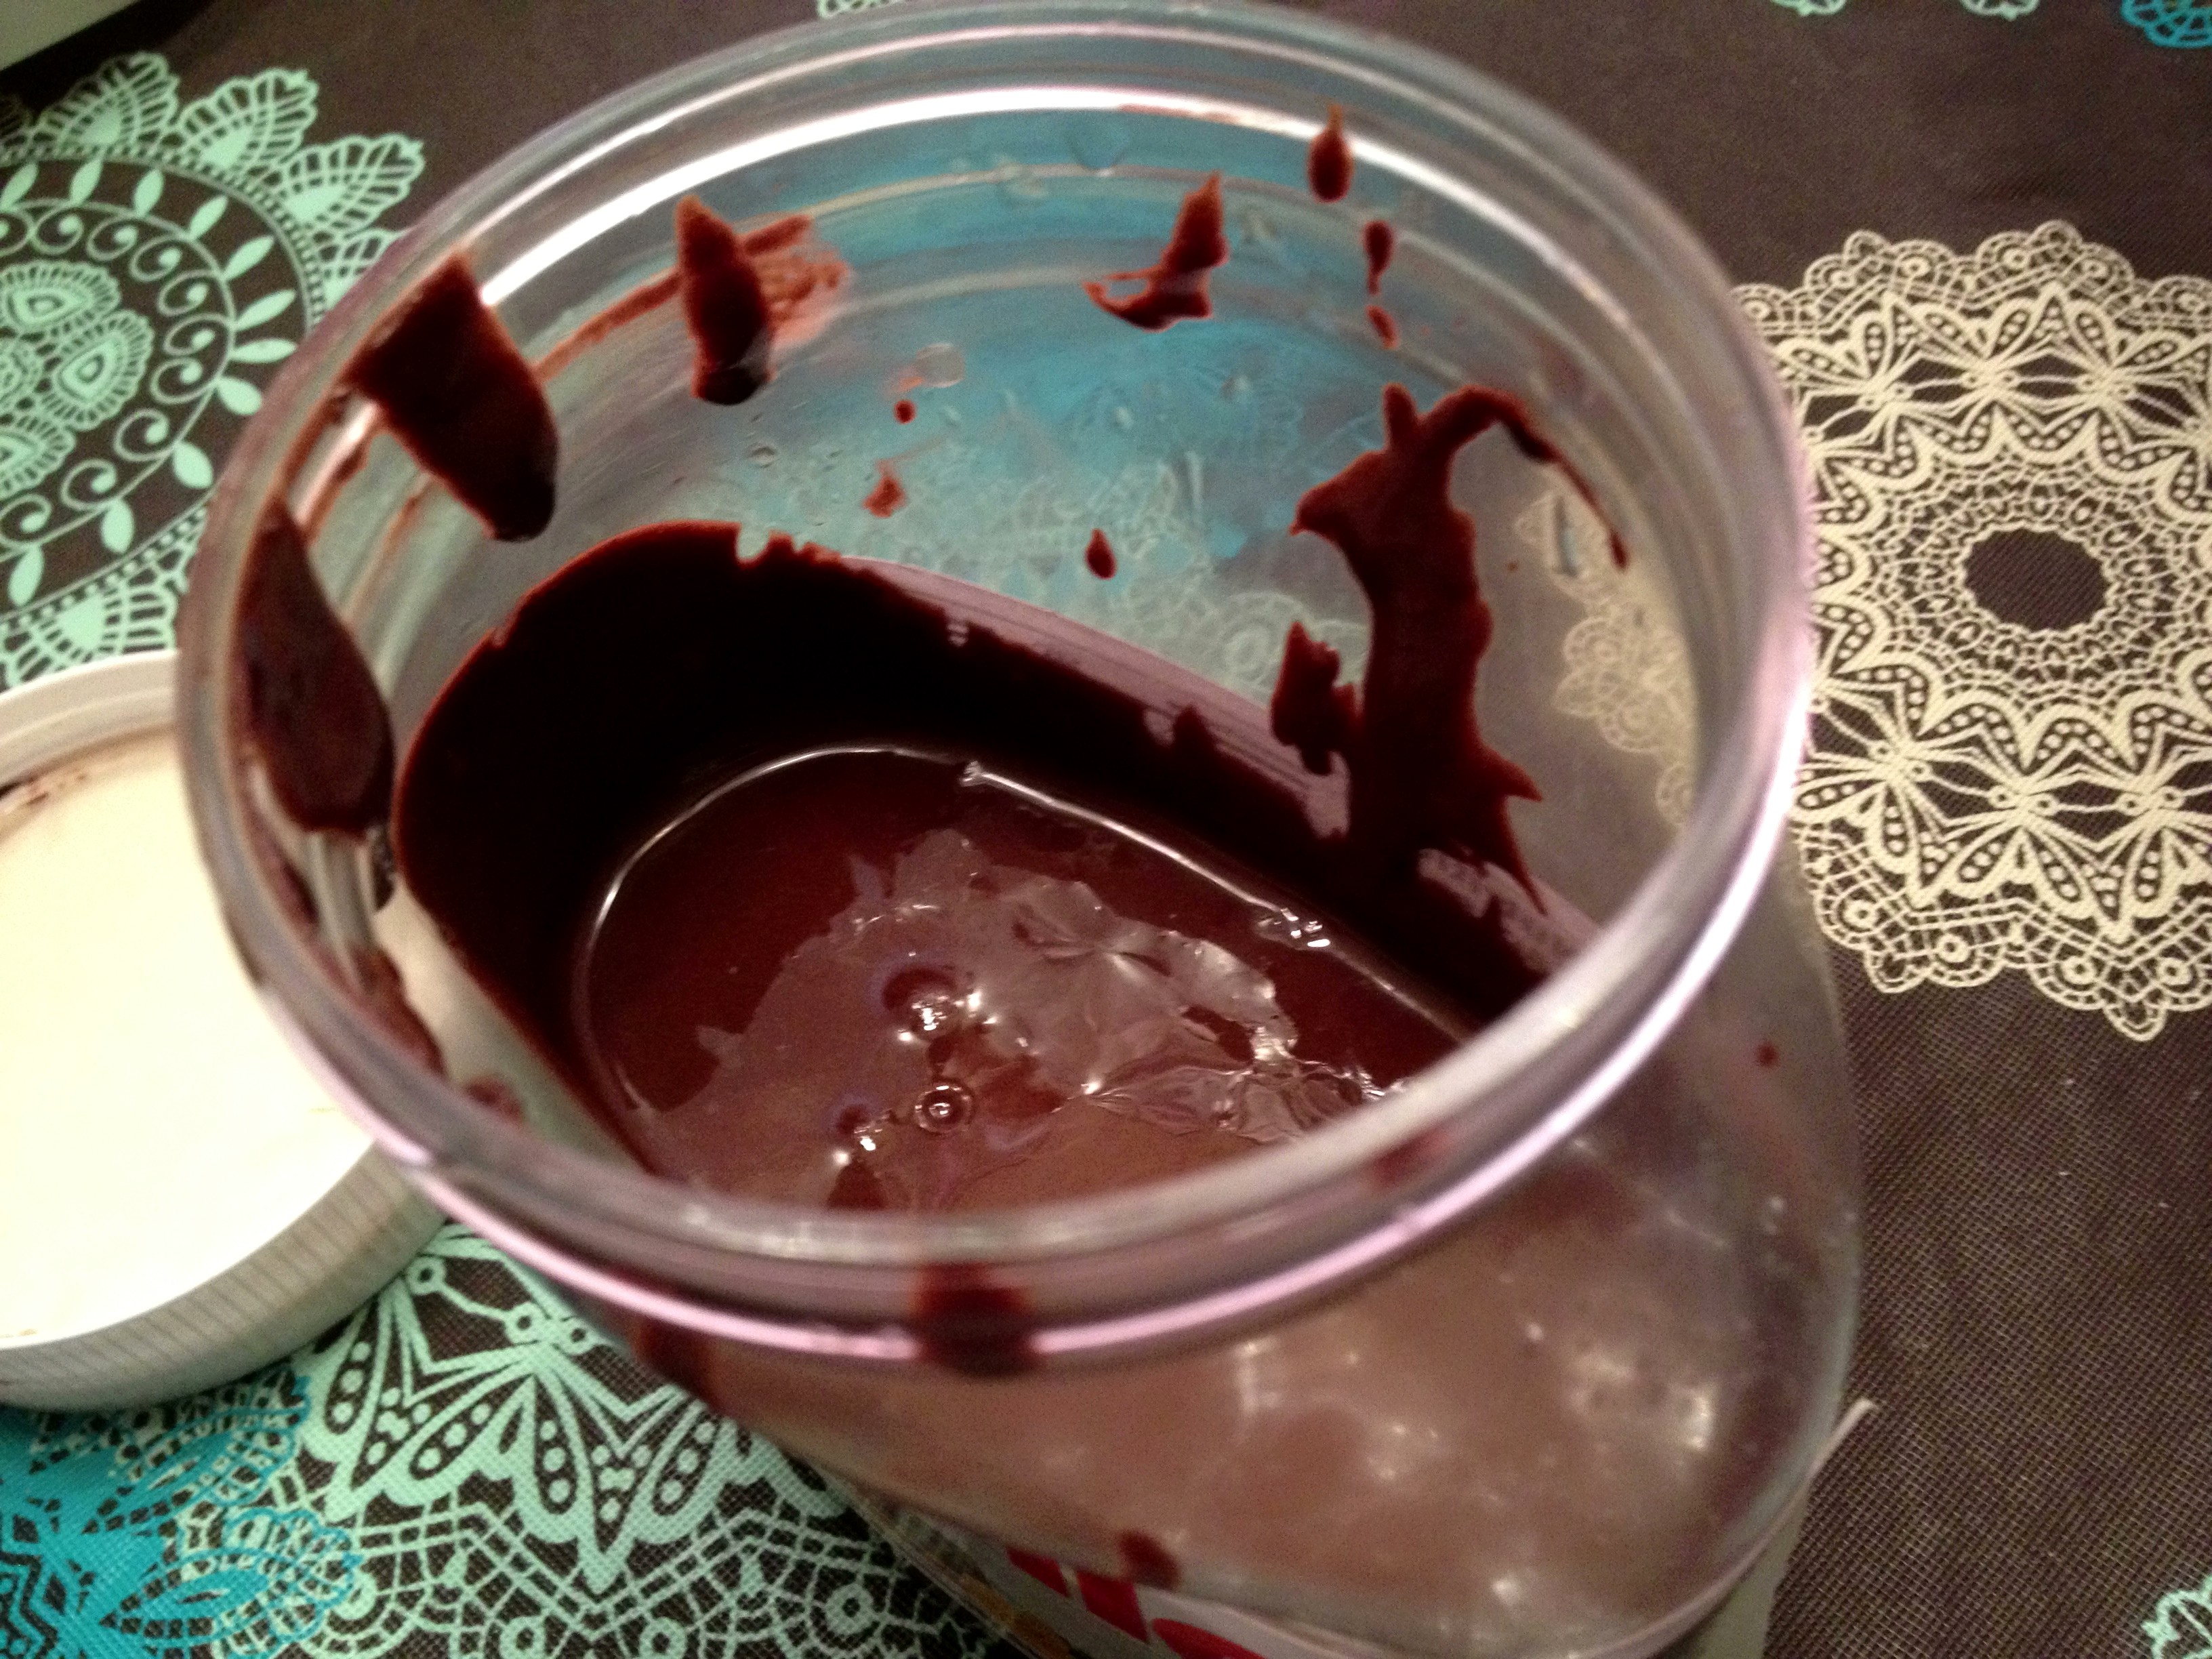
After blending for forever, you have this:

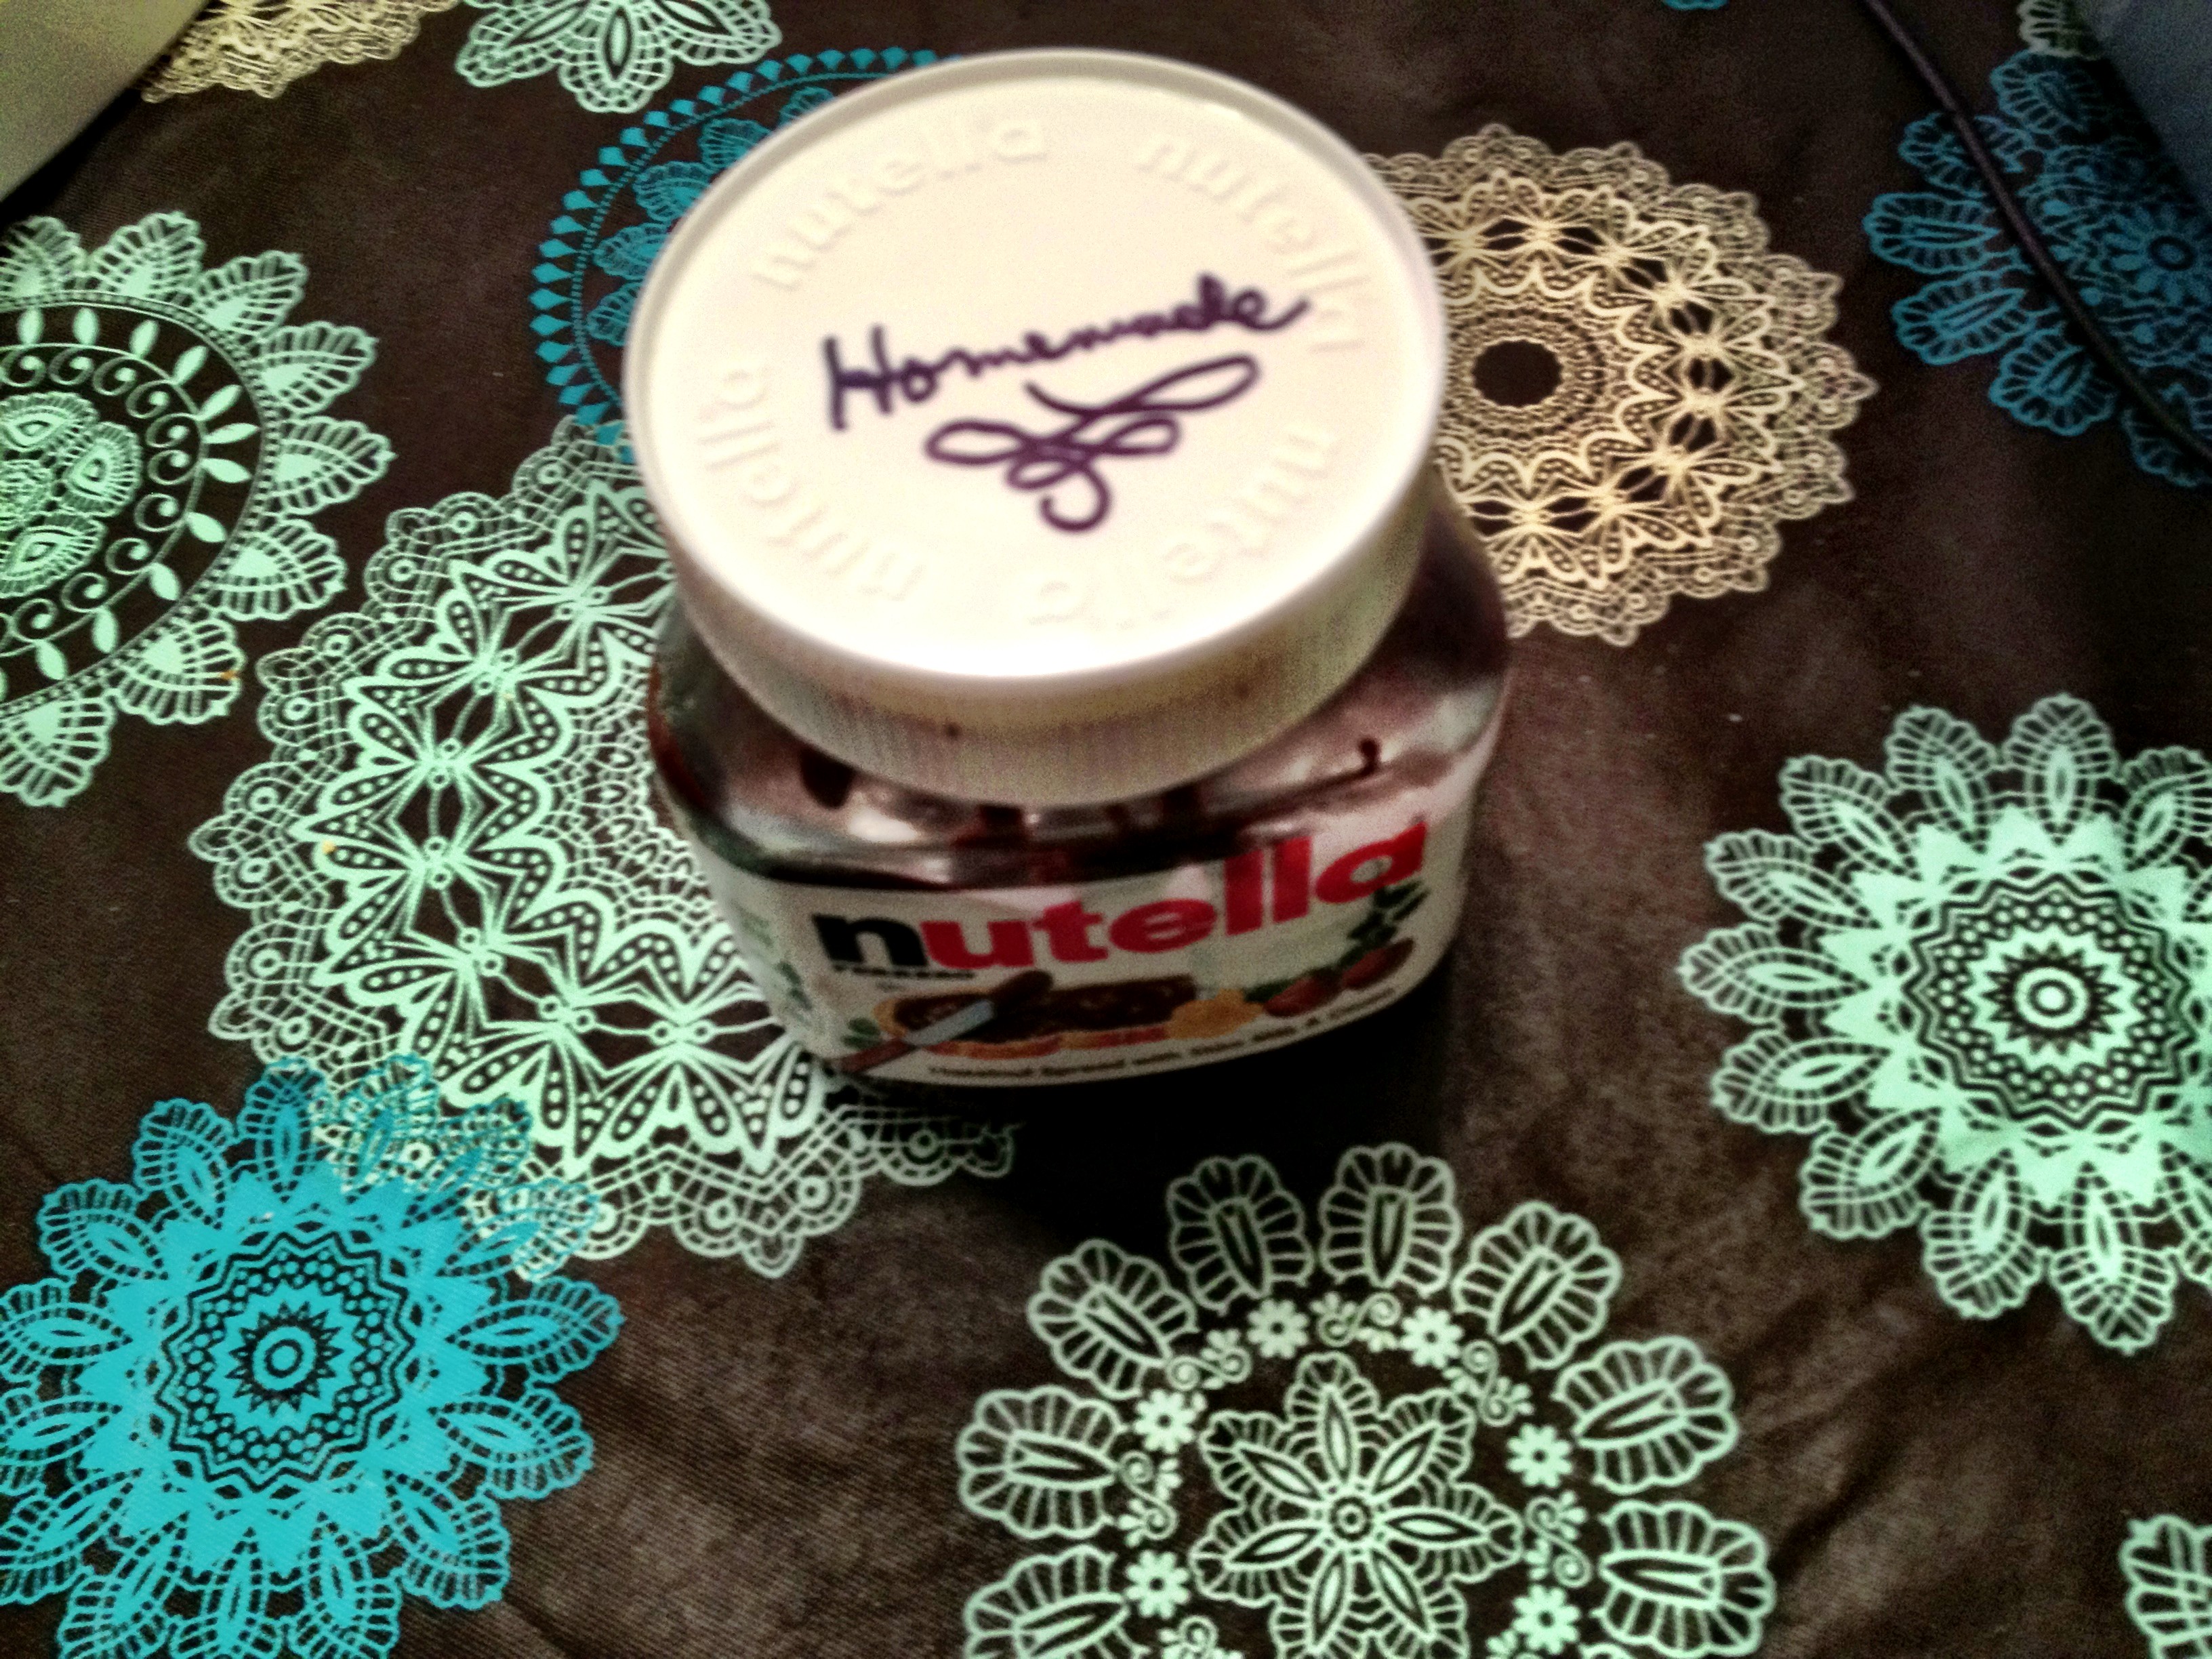
I poured/scraped it into an old Nutella jar I had saved.
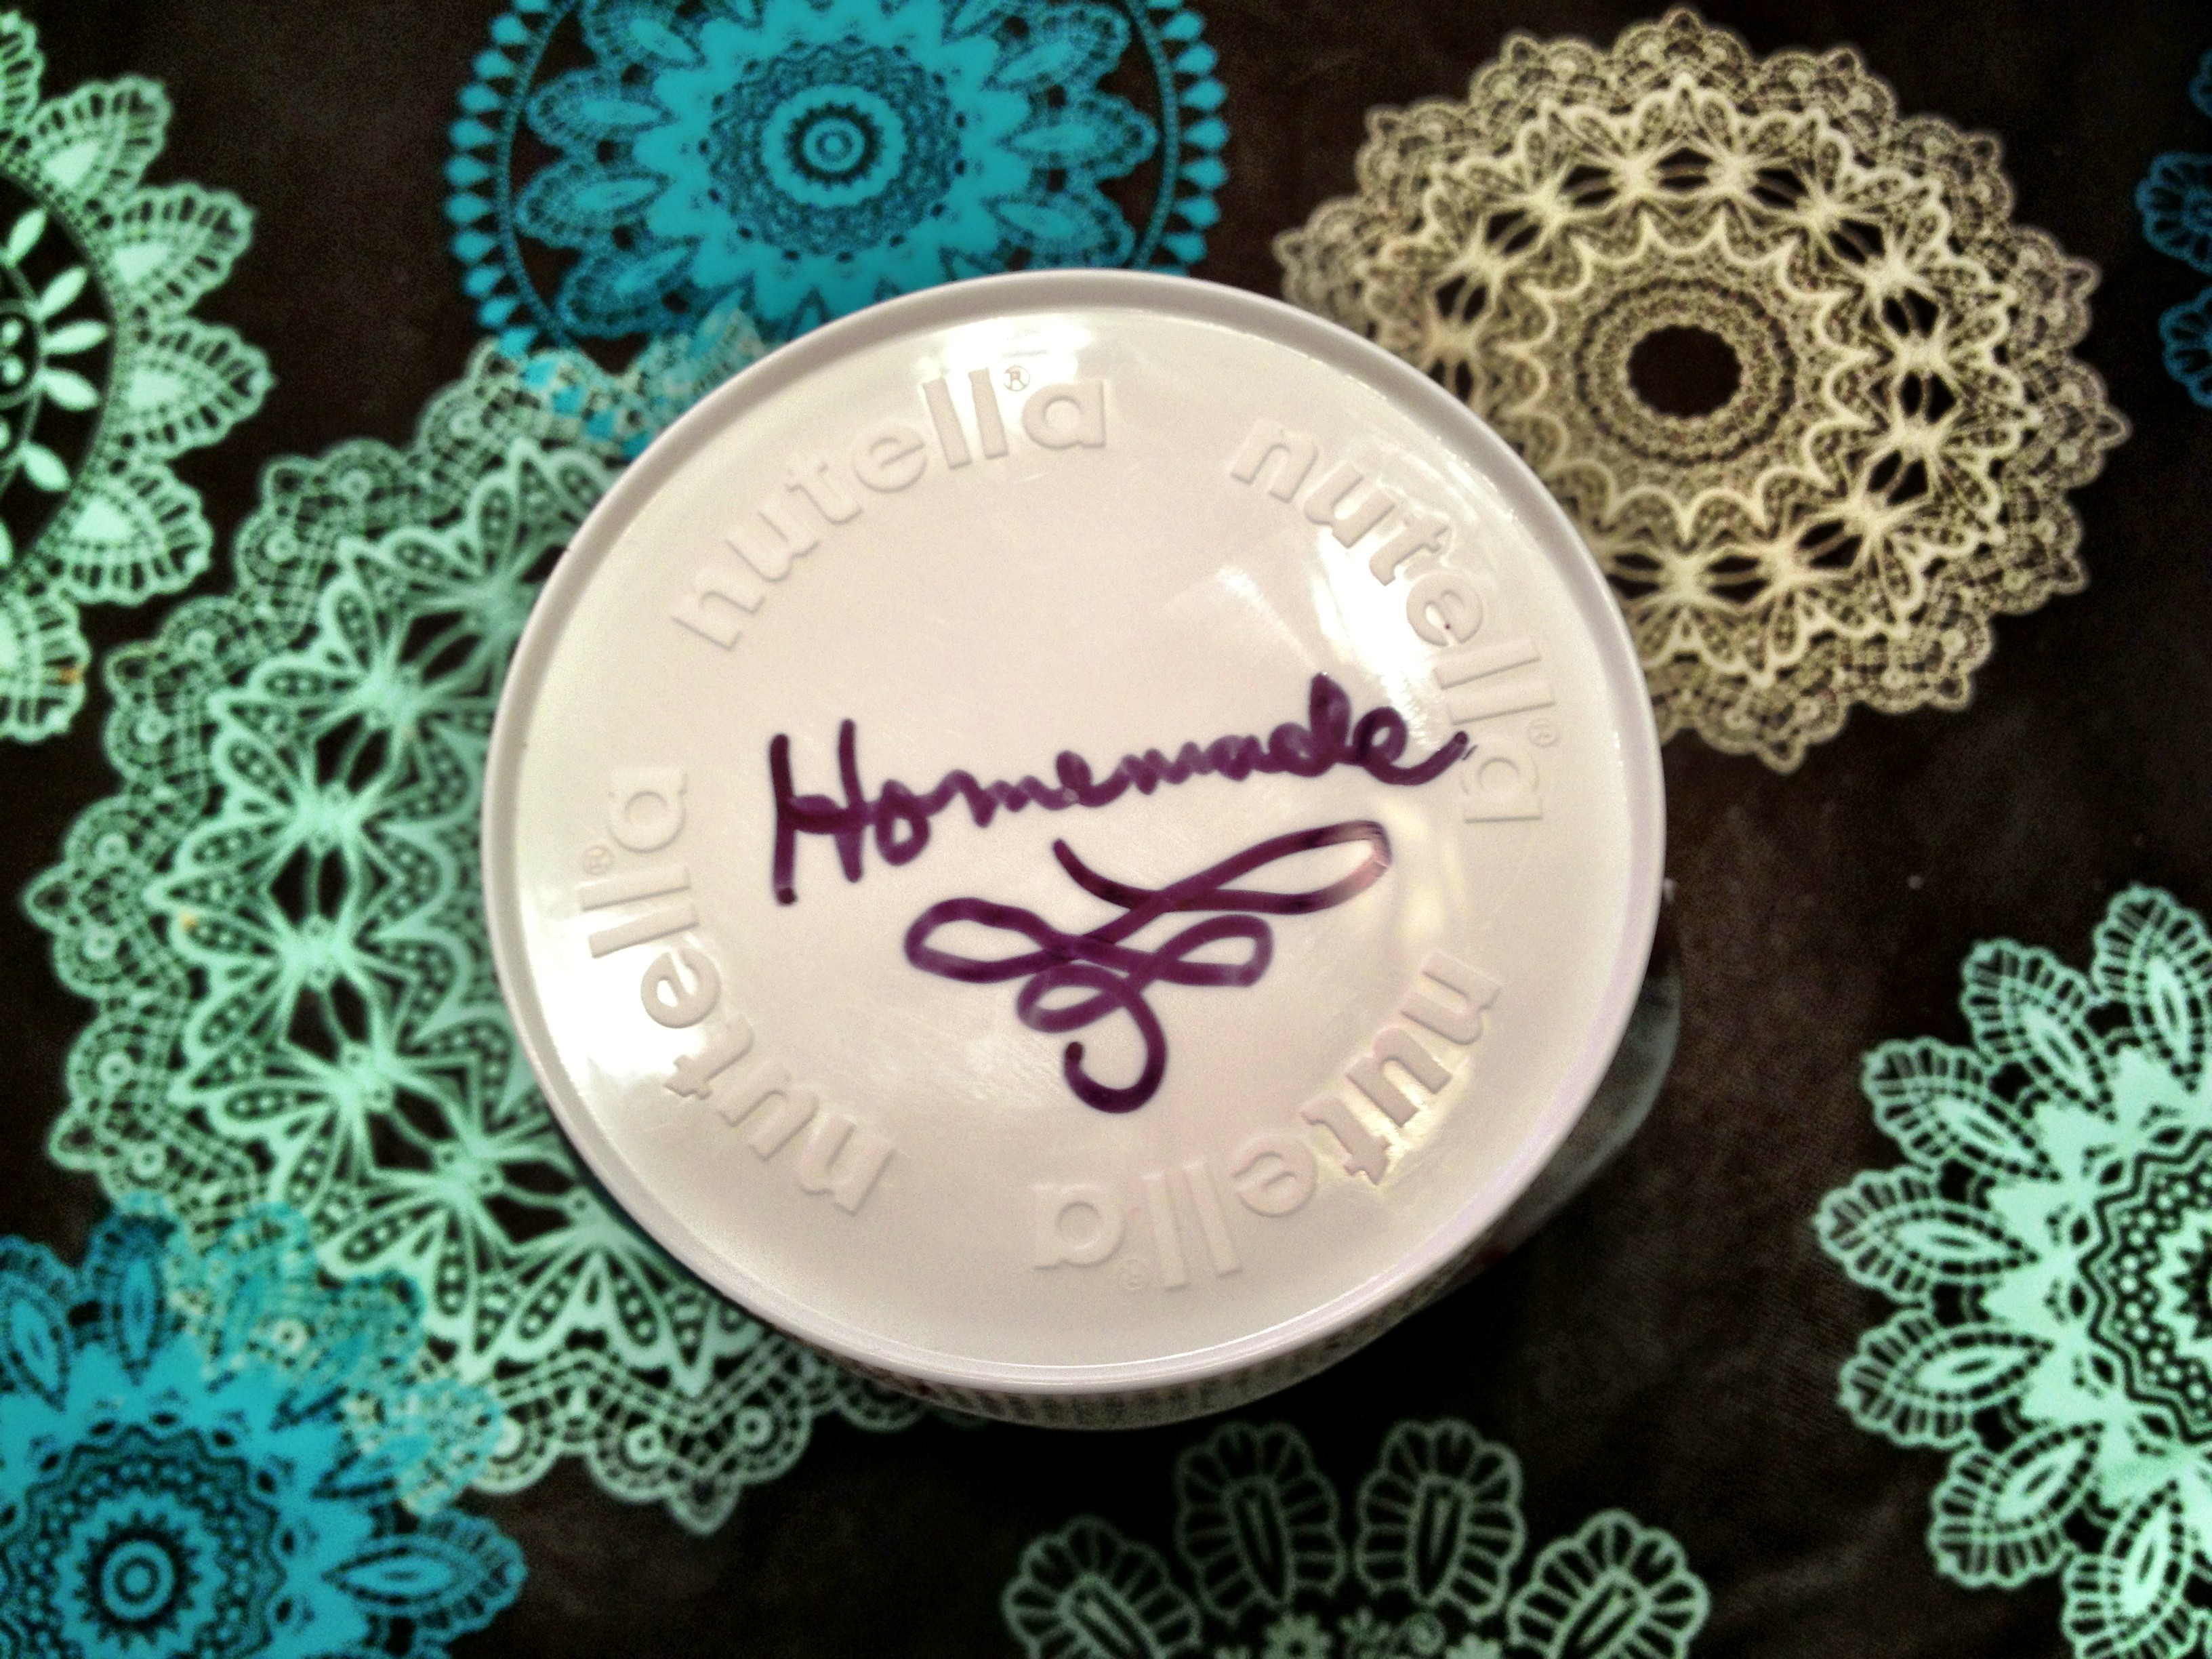
A simple label of “Homemade” on top, and I’m done labeling. I’m all for easy.
This recipe yielded about two cups of Nutella, which is about half a big jar of Nutella. Depending on how fast we go through this, my next batch may be doubled.
As I said before, this should have a shelf life of approximately two weeks.

Enjoy!
————————
UPDATES: Here are a few thoughts I have after having made a few batches:
I now prefer to do a double batch of the above recipe and pour that batch into three separate containers. I freeze two and keep one out. To warm a frozen jar, I put water in my crockpot and turned it on “warm.” I then left it overnight. (It would probably be ready before then, but that’s what I did.)
DO NOT put this in your fridge; the chocolate that you melted in your recipe will harden (not the end of the world, but also not convenient.)
If you notice that your Nutella is starting to get more stiff, you can put a dolup of it in a bowl and run it through the microwave for a few seconds. This will melt the chocolate again and make it more spreadable. I don’t recommend running the entire batch through the microwave; you can only do that a few times before it starts getting crusty and weird.
